Progress in Blender
I found myself with a pile of renders created while I was working on a Blender project, and thought they might make a nice example of how a scene slowly progresses from a rough idea to something cool. So here they are, with some accompanying text to explain my process. Not because I'm particularly good at this or anything, but rather, just because sometimes I need a reminder that cool shit is often the result of a lot of small efforts that by themselves are kind of worthless.This project began after deciding that my nephew needed some on-the-wall shelving in his bedroom so that he could organize. In order to plan for the best outcome, I thought it would be best to test some ideas in Blender so that we would be sure of what we were doing before we started any work.
 We began by taking a tape measure to his bedroom. In doing this, it isn't necessary to be precice, and so I only measure to the nearest inch and write down the measurements on a rough sketch of the room's floorplan. Also, for items like windows and doors, I measure to the outside of the molding, under the assumption that I'll eventually place a nice molding within the hole and I don't want to have to adjust the size of the hole when I do.
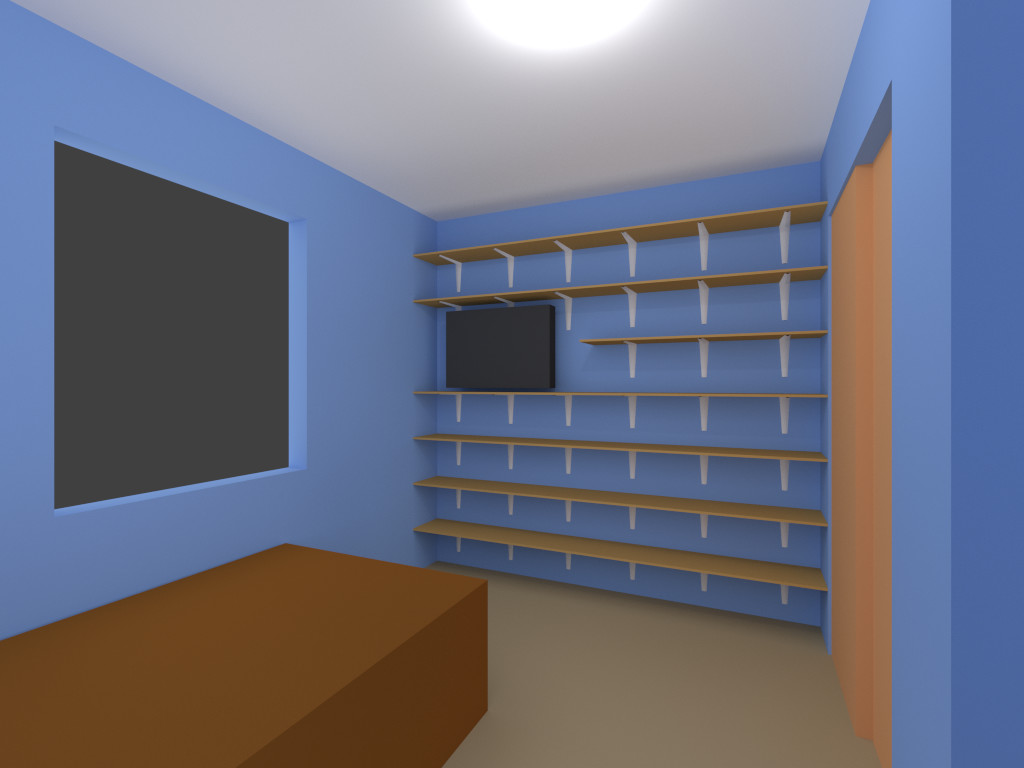
For funiture, I begin with just a rough box built to the measured dimensions of each object, hence the cuboid bed and television. Eventually these will be replaced with more detailed models. These rough models are all that is necessary to test different arrangements of furniture in the room. This allowed us to rather quickly (like 60 seconds) determine that it made much more sense to arrange the room as shown in this photo, vs. how it was originally arranged with the bed along the wall where the shelving is, which left only a few inches between the end of the bed and the closet door. Interestingly, this was far from obvious when looking at the room in real life, but I just though "I wonder if it'll fit over there" and so I moved it in Blender and, sure enough, it was a much better idea to put it over there. Blender is an excellent tool for deciding how to arrange your furniture.
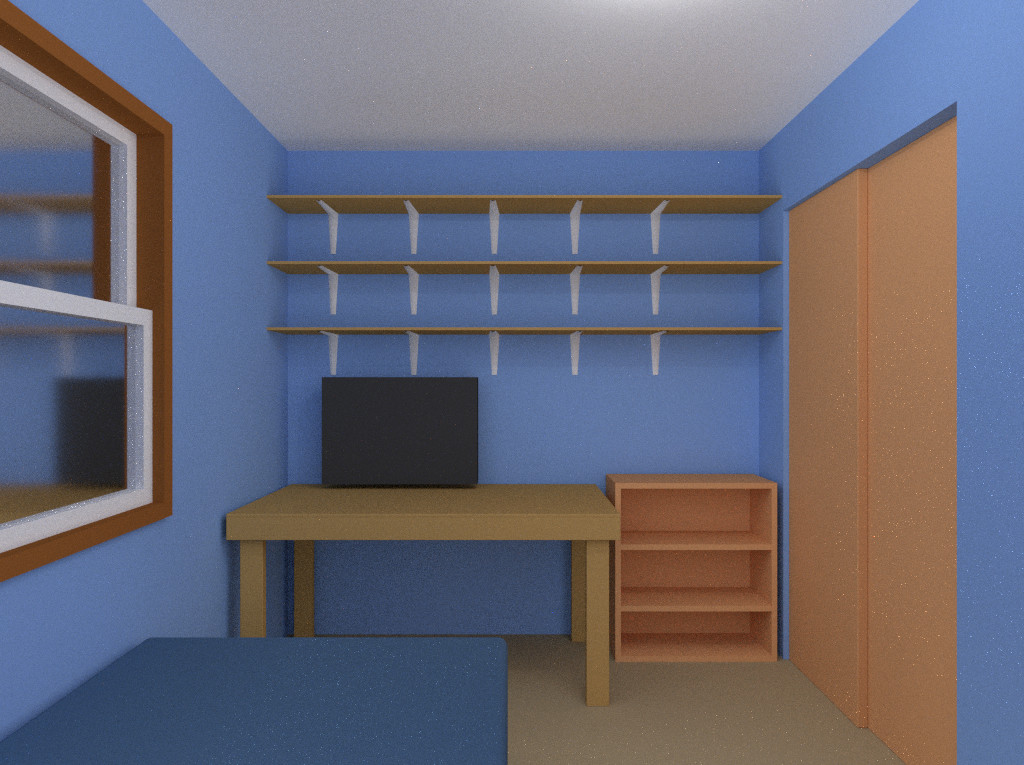 The next day I added a rough window frame (again, simply cuboid) and window, as well as another cuboid model of a small shelf in his room. Since he wanted a table, I designed one we could build out of particle board and 2x4 lumber, simply using a bevel modifier to make the lines between the individual pieces of lumber visible. I similarly added the bevel modifier to the closet doors so that they were more obviously separate pieces.
Also of note is that the position of the shelf brackets has changed, since with great effort (tapping and listening for hollow vs. solid sounds, using magents to detect drywall screws, and trying to make a stud finder actually find studs) we were able to figure out where the studs likely were, though this process was hampered by the fact that going by sound is of limited accuracy, drywall screws were few and far between (like 2 or 3 vertically over a 4 foot span), and stud finders really suck at finding studs. Also note the gap at the right side since, as best we could tell, there wasn't a stud there.
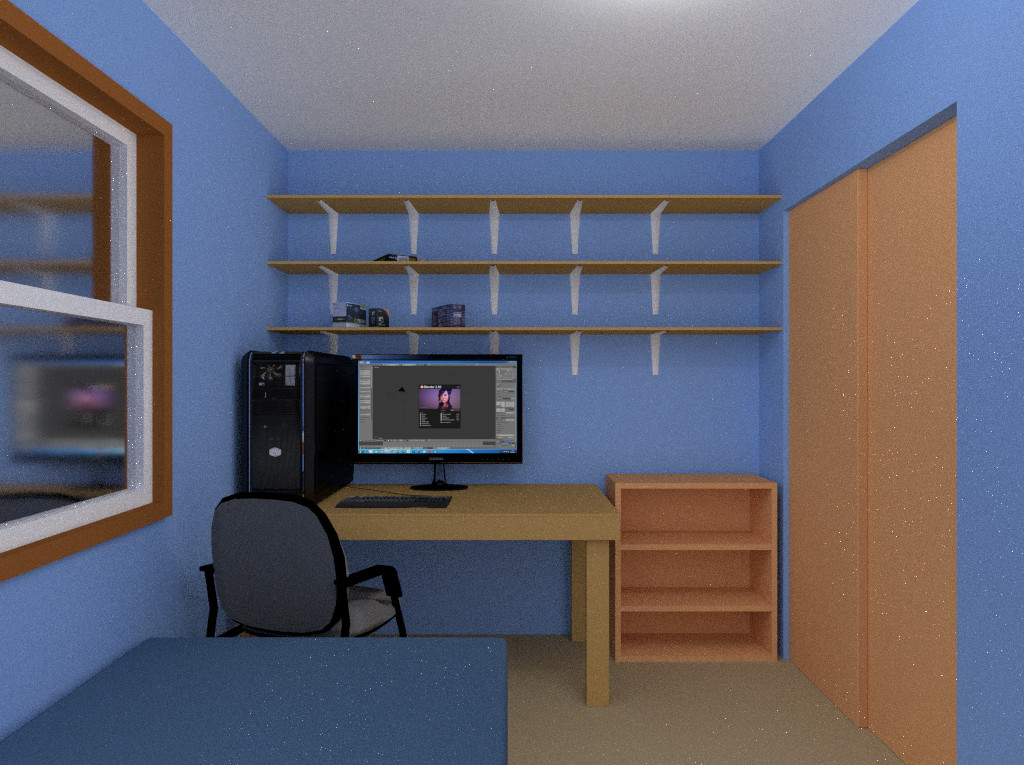 On the third day we decided to add some better objects to the scene. I decided (despite poor experiences in the past) to try to find some on the internet that I could download. However, that never goes well. Many times objects are in an incompatible format, and even when they are specifically for Blender, the original artist hasn't bothered to specify the object's scale, and so I'm left to scale the object arbitrarily until it "looks right" a.k.a. "it's close enough that I can't tell if it should be bigger or smaller, but it's obviously still the wrong size." In retrospect I now realize that the computer is far too large, but at the time, that was the best size I could figure it should be. ...or maybe the keyboard is just too small. I don't know; that's the problem with not knowing the scale of the object.
I do wish people sharing objects would more often also share what scale they are built at. E.g., I always build to a scale of 0.1 blender units = 1 inch. If someone imports one of my objects into a scene built at a scale of 1 blender unit = 1 foot, then all they must do is scale the object by a factor of 0.833 and it will be exactly the correct size for their scene, and so they won't have to guess. ...but I've never seen anyone note any scale when sharing objects.
Internet objects are annoying in other ways too. Sometimes they're multiple objects which are a pain to move around, and joining them doesn't go well (e.g., some of the sub-objects have modifiers while others don't). Sometimes the detail in the object is inappropriate, e.g. thousands of polygons for something that will occupy a hundred pixels in my final render. There's really so many possible issues that I have yet to download an object from the internet that I actually use in my final render.
 So the next day, I removed those objects and went about making my own.
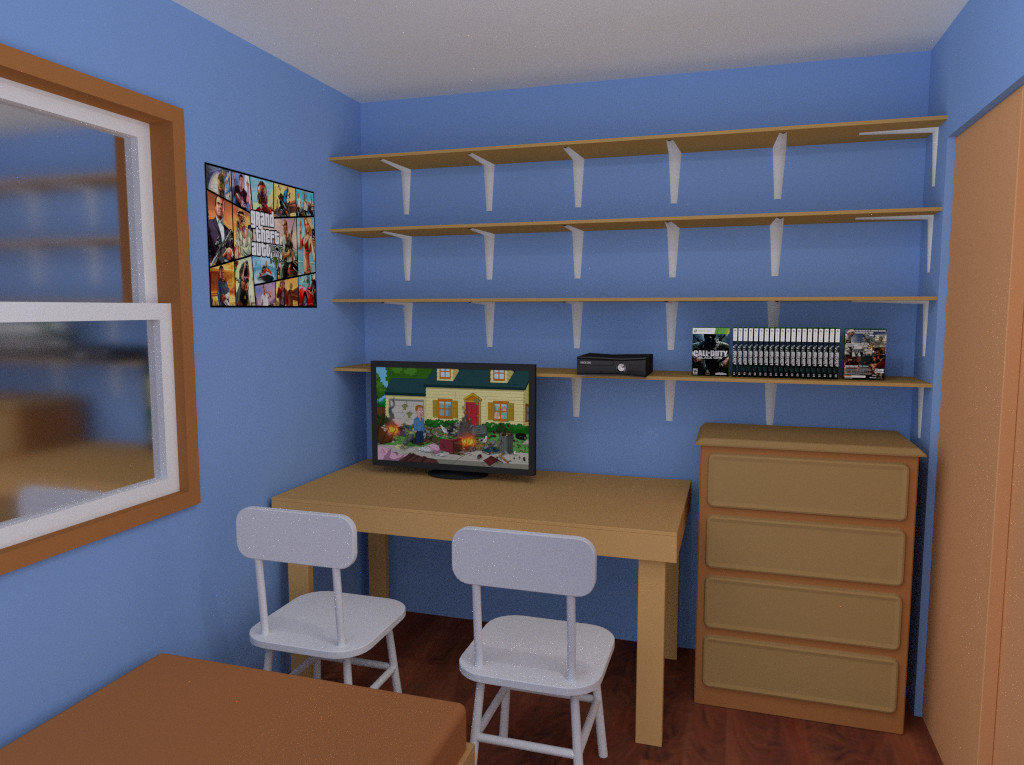
For the XBOX 360, I started with a cube made to the size of an XBOX that I measured, then dented it in the middle to approximate the XBOX's shape, then on the front I simply applied a picture of the front of an XBOX. The rest of the faces are untextured. For objects that aren't very large in the view of the camera, you can get by with some incredibly minimal efforts.
For the television, I started with a cube the size of his television's screen, then used "artistic inspiration" to build a support base onto the back of it. Just to make it obvious that it was a television, I added an image to the screen.
The XBOX games are obviously not that complex, just a cube for the case and a few planes just a hair outside of the cube for the label.
The dresser is a new model based on measurements from his actual dresser. The chairs were stolen from an old scene of a kitchen I made a year ago. Since I always build to a scale of 0.1 blender units = 1 inch, stealing objects from old scenes is easy.
The poster is just a plane, again spaced just a hair outside of the actual wall, otherwise you get weird effects where blender randomly decides whether you see the poster or the wall since they're in the same place. Posters are an easy way to make a scene look better, so I totally recommend them.
Finally, his parents have some (fake) wood flooring they plan to put in his room some day. I believe I just grabbed a texture of similar color from cgtextures.com rather than try to create my own.
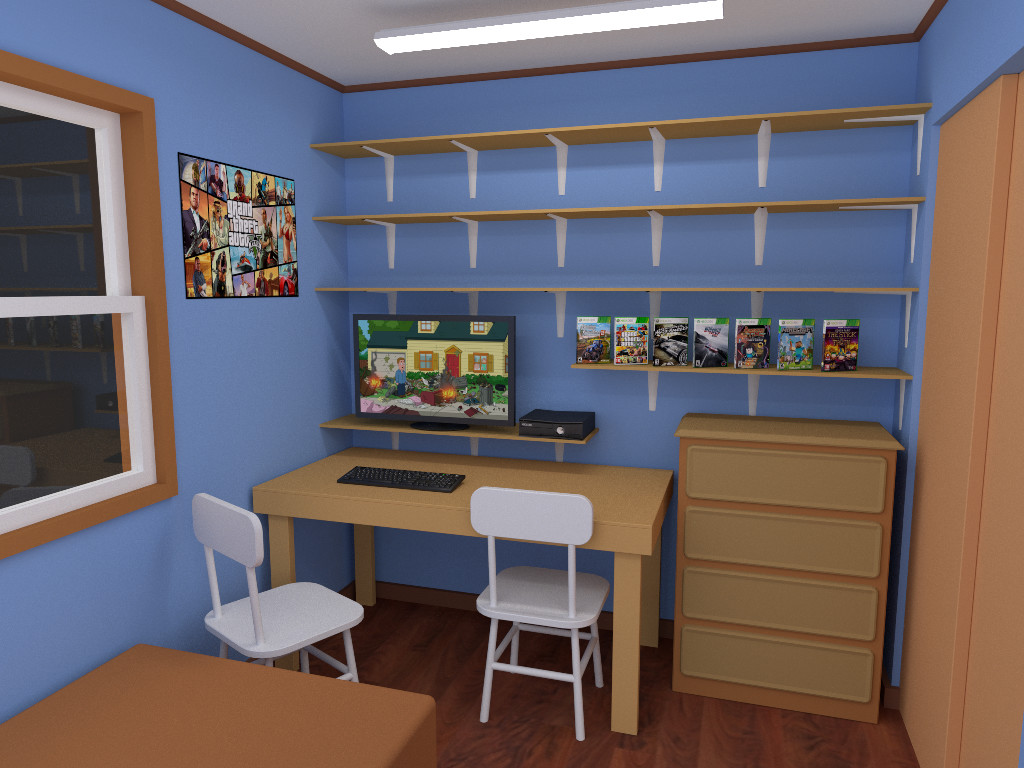 The next day, I decided to arrange the shelves differently, to leave a little more table space and avoid having a shelf pointlessly obscured by the television.
Then I added a fluorecent light fixture I stole from an old scene, to see what it would look like with more all-encompasing lighting.
Finally, I changed the window to glass, and made the environment color v=0.1 or something like that, to simulate it being dark outside, so I don't have to actually put anything out there to look at.
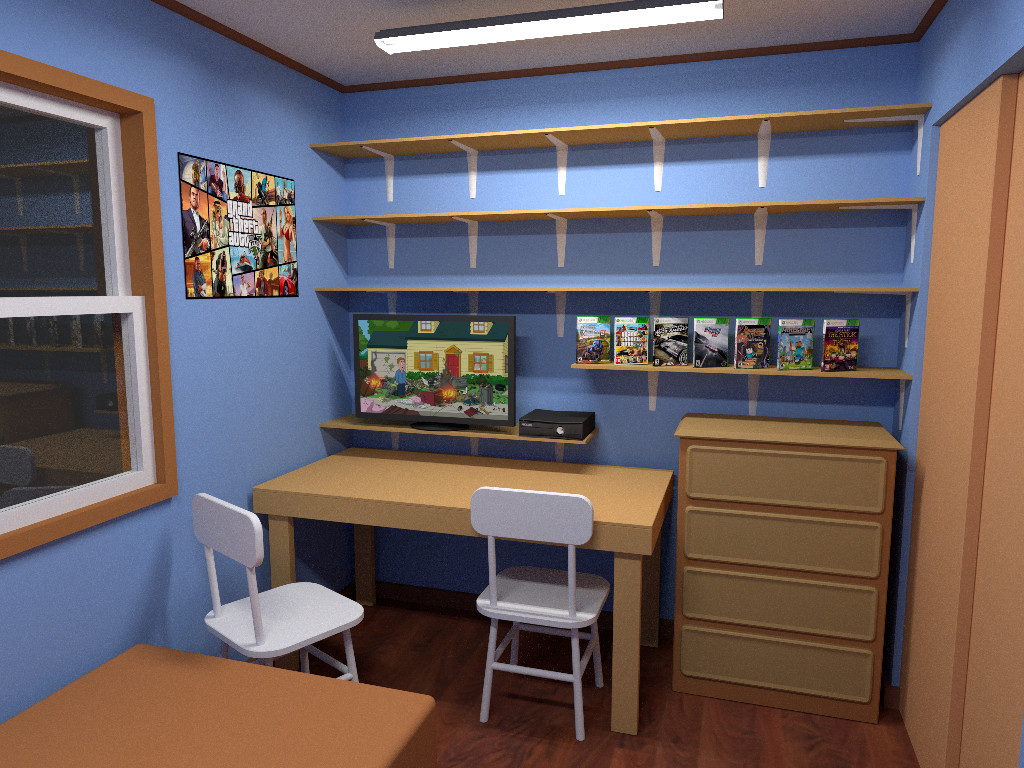 At this point I realized that my dumb ass was rendering in Cycles with ambient occulsion and environment lighting turned on. Turning those features off, as they only make sense when using Blender render, the lighting suddenly looked a lot better.
 Then I found the keyboard I lost. Did I mention I made a keyboard? ...and it got darker for some reason.
Also, at some point (I don't know when) I figured out that the key to making the XBOX cases fluorescent in color was to utilize the "add" shader to multiply a normal shader by a factor of two. Thus, however much light hits the material, more light leaves it than it received, allowing it to sort of "glow" without the unfortunate side effect of continuing to glow even in darkness.
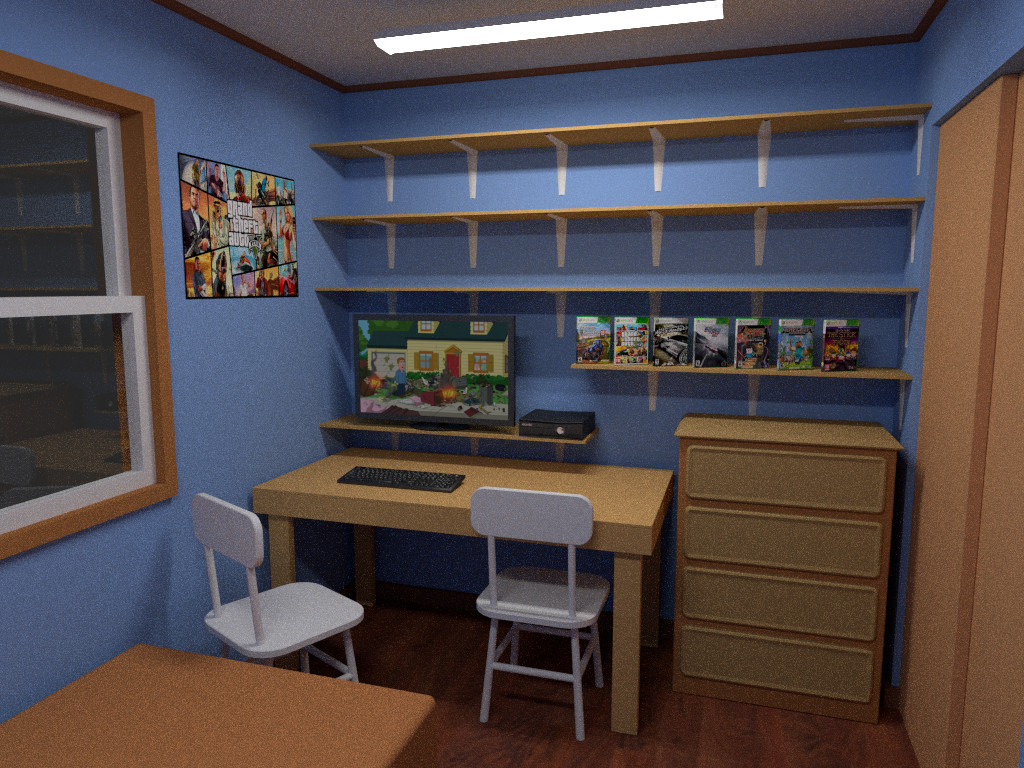
 This day I was far more productive than previous days. I took photographs of his carpet, ceiling, dresser, closet doors, and a blanket, and used The Gimp's "Resynthesizer" plugin to make tilable textures out of them, which I then applied to those things in the image.
I also made the walls white since that was their original color anyway, the blue simply having remained from the first draft where I tossed it in because I didn't remember what color they were. Despite the relative simplicity of the changes, it had a drastic effect on how nice the render appears. However, some of that may also be that I set the exposure correctly, and so the image isn't depressingly dark like before. ...but I suspect just getting the blue off of the walls helped a lot with that too.
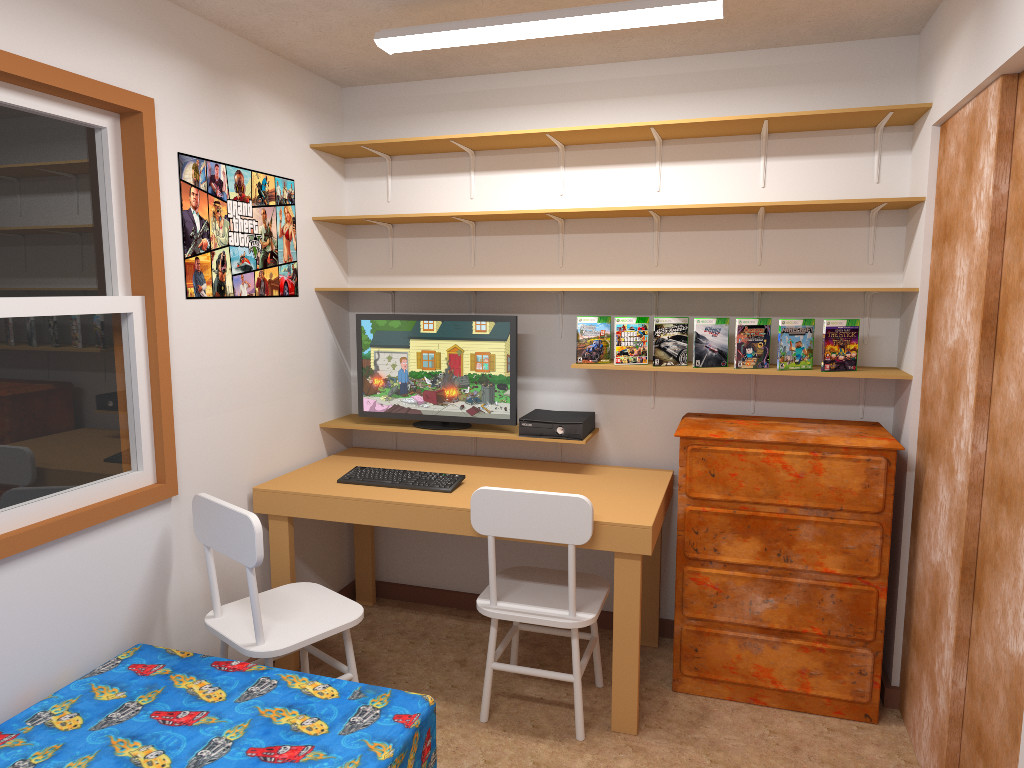
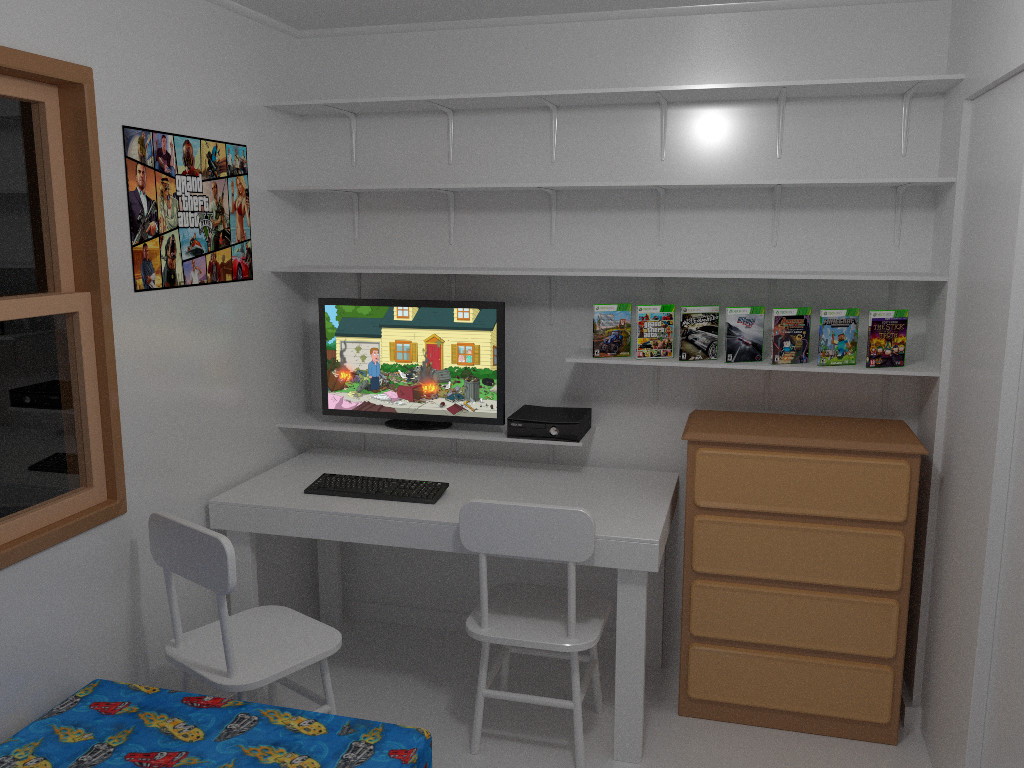 At this point we started considering paint colors. Apparently one should never paint every object in a room white.
I also tried every color of the hue shift (by setting up an animation, with the wall color varying between frames) but every color I tried looked worse that the image above with the room's current colors. In doing so, I reaffirmed my belief that walls shouldn't have a color.
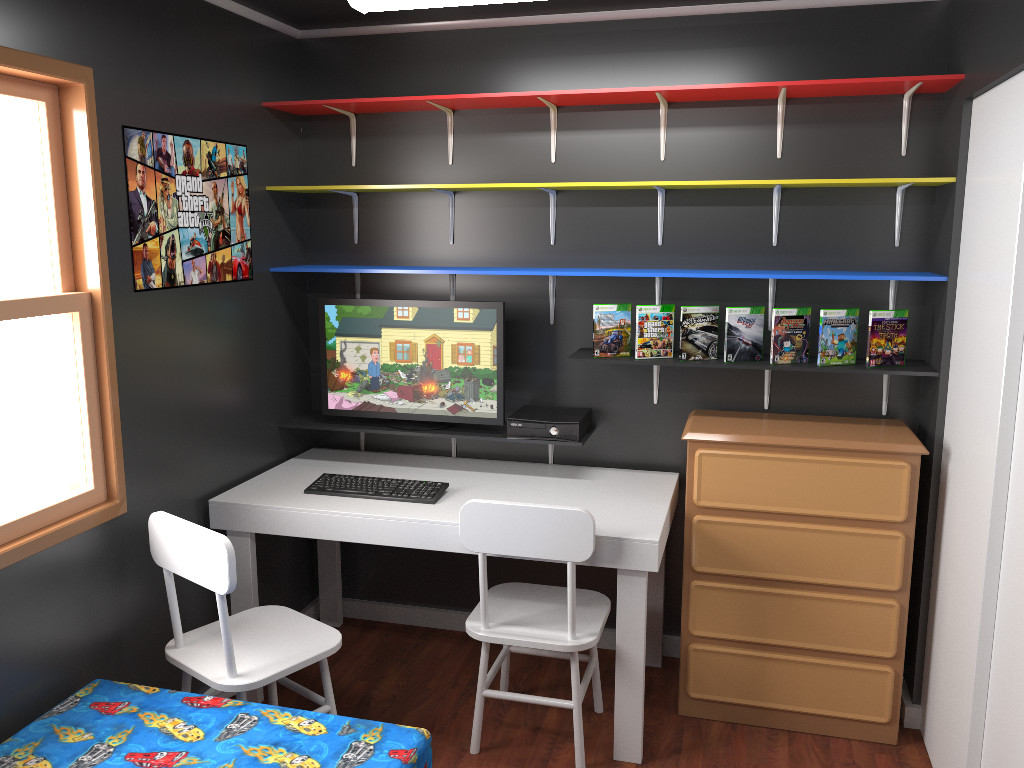 So, with color out of the question, I decided to try black. However, that too was weirdly neutral like the all-white image, so I added colors to the shelves, which made it look better, though in an 80's laser tag way.
To try to help the lack of color, I made the black paint high-gloss, so that the walls would reflect whatever colors were elsewhere in the room, which as it turns out, isn't much aside from the television. It then occured to me that I'd forgotten to add glossyness to many other things, e.g. the dresser and the window frame, so I went about adding it to the materials on those objects.
I also decided to allow some light in through the window, and because it is so bright, the fact that there is nothing out there is again irrelevant.
This image was rendered with 40,000 samples. How people make do with only a thousand is beyond me. Yes, you can do it if you set things up the right way, but in doing so you set up for a less spectacular render in my opinion. If the lighting isn't hideously difficult to calculate, then it just isn't cool enough in my opinion.
This is definately the best color scheme I came up with, but unfortunately buying five different colors of paint would be expensive. The local Walmart charges almost as much for a quart of paint as it charges for a gallon.
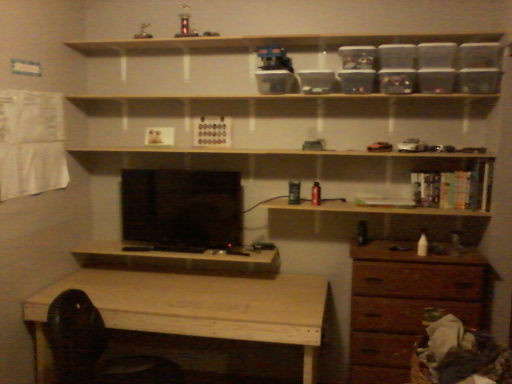 So instead, this is what his room presently looks like.
Damn Walmart and its over-priced quarts of paint!